
Typical measuring tasks: 5 examples of how a measurement lab helps
What questions do customers bring to the measurement lab? The following five examples show typical measuring tasks and how we solve them. They are deliberately kept general – we treat specific customer projects confidentially.
1. Initial sample of an injection-molded part according to VDA
- Starting point: A new tool delivers its first parts. For the initial sample inspection report (EMPB) according to VDA, all features of the drawing must be measured.
- Approach: First, we check which measuring method is best suited – tactile, optical or CT. Part size, properties, tolerances and the required features are decisive; depending on the task, we also combine several methods. Each feature is given a reference number on the drawing.
- Result: An inspection report with nominal and actual values and the assessment of each feature. Deviations show where the tool needs to be corrected. You as the customer decide on the approval.
2. Shrink holes and wall thicknesses in a cast part
- Starting point: There is a suspicion of cavities or walls that are too thin. Cutting the part open would destroy it and only show a single section.
- Approach: We scan the entire part in the CT. Cavities, pores and shrink holes become visible in the 3D model, and wall thicknesses can be evaluated across the whole surface. Whether X-rays can penetrate a part depends on material and wall thickness – we clarify this in advance.
- Result: The position and size of the defects are visible without destroying the part.
3. Spare part without a drawing
- Starting point: A part needs to be reproduced, but there is no longer a drawing or CAD data.
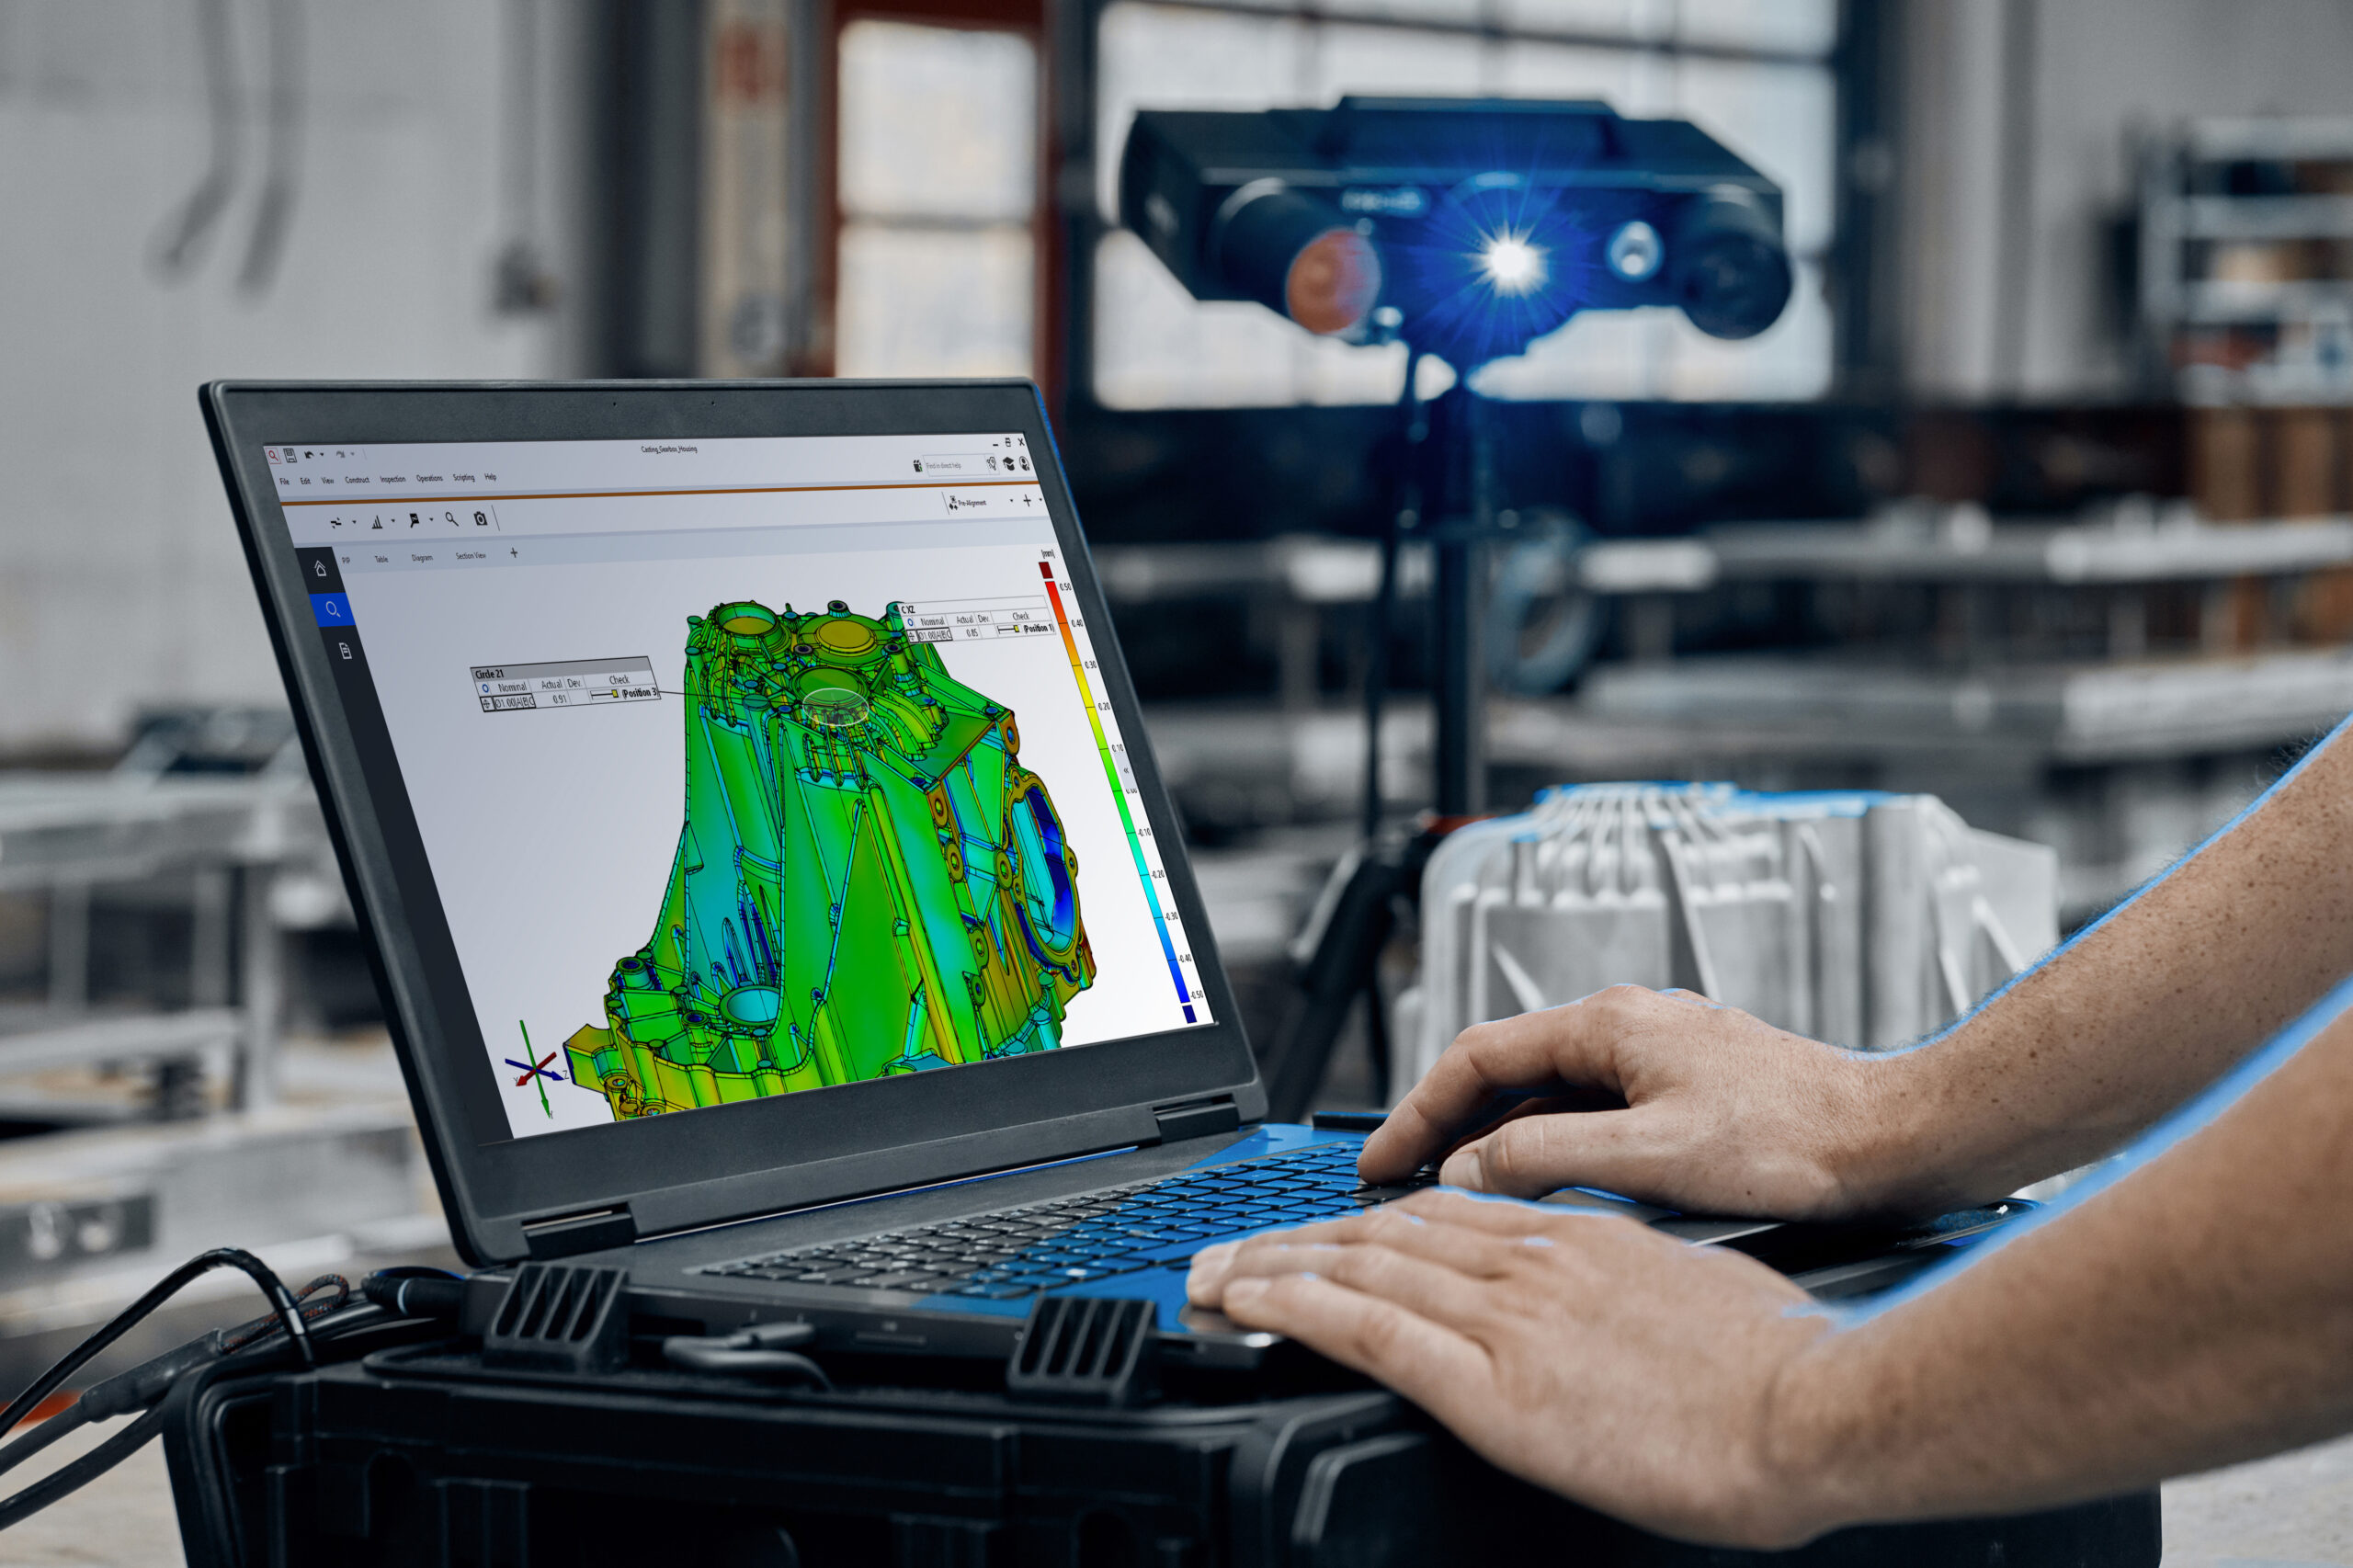
- Approach: We digitize the part – depending on the part, with the GOM ATOS 3D scanner or with CT. Which method fits depends, among other things, on geometry, material and time frame. From the data we derive an editable CAD model (reverse engineering).
- Result: A CAD model as the basis for reproduction or further development.
4. Complaint: who is measuring correctly?
- Starting point: Supplier and customer arrive at different measured values for the same part.
- Approach: A neutral tactile measurement by our laboratory accredited to ISO/IEC 17025. The report documents the measuring conditions (reference temperature 20 °C) and the measurement uncertainty.
- Result: An independent, traceable basis for resolving the complaint objectively.
5. Checking the roughness of a functional surface
- Starting point: A sealing or sliding surface does not work as expected, or the drawing specifies roughness values that must be verified.
- Approach: We measure the surface with the roughness measuring instrument using the stylus method and evaluate the required parameters such as Ra or Rz. If required, we also capture radii, angles and profile shapes with contour measurement.
- Result: The measured parameters in direct comparison with the drawing specification – as a basis for specifically adjusting machining or the specification.
Your measuring task is not listed?
Describe the part and your question to us – we will recommend the right method and prepare a non-binding quotation. Which method fits when is explained in the article CT or tactile measurement?, and how an order proceeds in How a 3D measurement works.
We’d be happy to advise you!
We would be happy to provide you with personalized advice, with no obligation.
Please contact us.